My Pick ~ Messy Do

Sometimes for me, I fall in love with just the ‘look’ of a hairstyle, it doesn’t necessarily have to be a precise haircut or anything too defined. One of my favorite things, especially on myself is ‘messy’ unstructured undo’s. I know this picture is abit hazy but I hope it will show you an idea of what I mean…


My Pick 10
See how the texture is so messy, like she’s been out blowing in the wind all day, and then one side is just dragged up to create a different shape! Great Look!
If your lucky enough to have texture in your hair then this look will happen naturally and easily but if not, time is spent just to get this very natural undone hairdo!
I will continue to hunt down more messy up do’s to show you.

Hair Question…

QUESTION – by Helen:

How on earth can I get some lift in my roots without having to dry it upside down? I have tried doing that and it just foes abit too wild and messy. Help?


ANSWER – by JuJu

Yes, drying your hair upside down will definitely cause the hair to become messy and also tangled, and if this isn’t the look your going for, the best way to get root lift is by lifting sections of your hair and using the hair dryer to blow underneath each section, drag and dry the roots going the opposite way to the way it normally lays, then do the same with the other side as well as with the back, where you would drag the hair up and forward. If you continue to do this method of lifting until the hair is almost dry, you wont need to use the brush to get root lift either, which can be abit messy too as the hair can tangle easy at the roots. Hope this helps.

Jin Bang from Prive at Dekko Salon

Every now and again we at Dekko are lucky enough to get some outside teachers sent our way to give us inspiration and show us some new techniques.
Jin Bang, Artistic Educator from Prive Salon (LA & NY) came over to give us a demo on 2 models. The stylists had requested he show us a long layered haircut (always useful on our clients) on one model and the other model, a creative look.

Here’s Jin working on Kayleigh with his creative techniques. He showed a variation of how to remove bulk from the hair and adding lots of texture to it.

Before and after pictures of Sharon, His long layered haircut (the Kim K. as Jin would call it)(as in Kim Kardashian)! Starting with the base line to get the desired length, then he went to the front area and carved out a ‘C’ curve into the side areas. Lastly, the layers were picked straight up from the head and angled from short to long then blowdried using a round brush to create the body.

And here is before and after pictures of Kayleigh again, Jin’s creative haircut as seen in the above pictures. Jin started working from the inside out, starting with the internal layers and taking lots of bulk out with his new techniques before cutting the length off (using a back-cutting technique). He then went into the front area and sliced the front off, then returning to the sides, he connected the back length to the sides, keeping the sides longer. he continued to remove bulk throughout the layers through the top area too. Once the blow dry was completed, Jin returned into the whole haircut and refined any unwanted long areas of hair.

Both models looked great and we were very inspired by Jin, Thank You so much for ‘popping’ over and showing us a thing or two!

Dekko’s Daily Grind – Cathy

I wanted to feature some work from one of our other stylists from Dekko Salon. Joni Shibata Philips has been with the company since it started and here she is with Cathy, about to do quite a drastic change.

Cathy came in with long thick hair and wanted to donate her hair to Pantene’s Beautiful Lengths, I wrote an earlier post on Donating Hair and if you want to re-cap follow this link: https://jujuchan.com/2009/03/hair-donations.html

Most companies are quite strict and need at least 10 inches before they will accept the hair, but at least this one does accept colored hair, whereas some of the other companies needs the hair to be in its ‘virgin’ state. Cathy being the ideal candidate anyway, came in to see Joni and I couldn’t resist documenting the change for you.

Here’s Cathy during the ponytail cutting section:

Joni cut the hair just below the shoulder and because the hair is so heavy and thick, she proceeded to layer it through and took LOTS of weight out of it to ensure that the hair is able to move and that it will be easy to keep. The hair was then blow-dried and a pomade was rubbed into the ends to give it a chunkier finish to the layers. Here’s Cathy looking very fresh with her newly shorn locks.

Thanks Cathy for posing for the photos : )

Difference in Straightener’s…

OK, so whats the difference between the Japanese Straight Perm and the Brazilian Straightener ?(Note: not to be confused with the Brazilian Blowouts) Alot of people have been wondering, so here are the most basic points for consideration…

  • Japanese is permanent and will grow out, Brazilian last about 3-4 months and reverts back slowly.
  • Japanese result is poker-straight and flat, Brazilian’s can keep waves and body in the hair.
  • Japanese gets the best results done on healthier hair and is not advisable for light blonde hair, Brazilian can be done on damaged porous hair, even ultra light blondes.
  • Japanese is more expensive because it usually takes longer, between 4 and 6 hours, whereas the Brazilian can be done in 2 to 3hours.
  • You will see a re-growth with the Japanese because the structure will have been changed, whereas the Brazilian will slowly revert back to its normal texture and there is no permanent change.
  • Japanese will allow any type of shampoo to be used with it once done, although a special conditioner is recommended, the Brazilian needs sulphate free shampoos to make the treatment last longer, any salt (ocean water) will reduce the life of the treatment.
  • When freshly done, both the Japanese and the Brazilian advises you not to tie your hair up or tuck it behind your ears for 48 hours.


Suitability – Features and Body Shapes

Continuing from my post about face shapes I wanted to talk a little more about suitability in facial features and body shapes – 2 other important considerations to take into account when deciding on hairstyles.


Strong Facial Features:
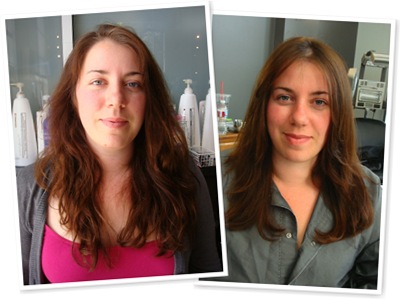
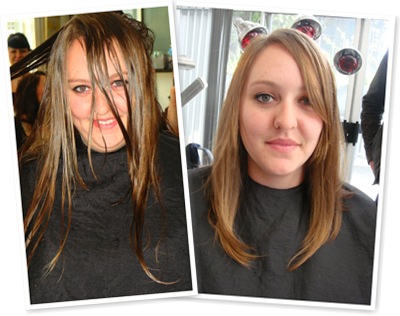
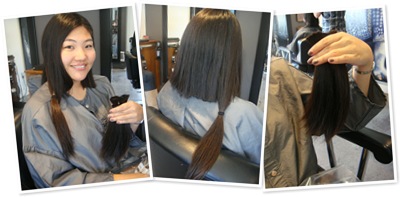
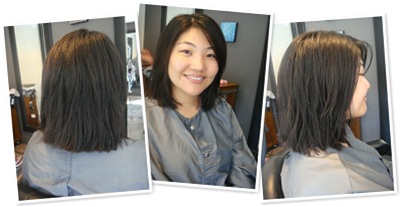
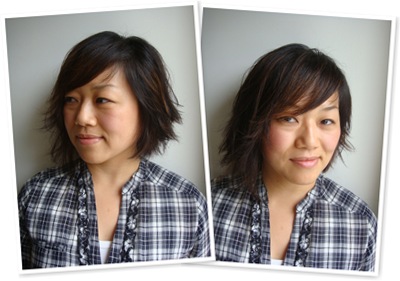
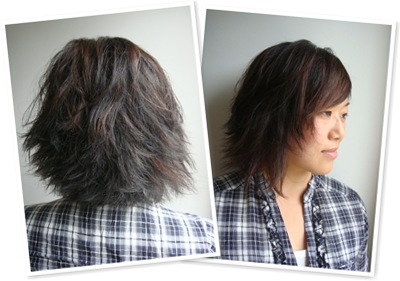
Below are just a few ‘more extreme’ samples of how important features are when choosing hairstyles, the more experience the stylist is the more they can automatically access facial features as soon as they see the client.
(just in case you cant see the text very well, here they are again.)

  • Long fringes can accentuate a bigger nose.
  • A ‘Nefertiti’ style would accentuate a long chin.
  • A short style, particularly around the ears, will bring them out more.
  • A style with horizontal lines will not do justice for someone with a wide neck or double chins.
  • A short fringe will accentuate a protruding forehead.
  • A flat face is made flatter if the style is worked straight up from the hairline.
suitability


Height and Body Shapes:
These also make a difference to your choice of hairstyles. It is important for the stylist to see the client before she sits down so that you can take note of her body proportion.
If a tall, thin person had a hairstyle which is very short and close to the head, or very long hair that is straight and flat, then the body length will be accentuated more, whereas if the style had more width, the stream-line would be broken giving an overall better body proportion.

body shapes 1

On the other hand, if a person is small but in proportion, then anything that is not TOO wide would be suitable, but if the person was small, and wide in shape, then the situation would be different. To add a hairstyle with width would be adding width to the overall look, but if the style was very short and flat, this would also accentuate the roundness of the body. It is not always easy to reach a happy medium, especially if the client has a certain style in mind. The stylists job is to suggest styles which complement her all round. If the correct approach is used, most clients are willing to accept your ideas and styles, as long as you have a reason to back up your suggestions.

body shapes 2

Again, I am using extreme examples to show my points easier, it does not mean that all persons belong in any one category of body shape or that you cannot go against type but in general, we must remember to evaluate the body along with the face shape and features when choosing styles.

Post Pregnancy Hair..

I wanted to write this post for you because I know alot of woman become frantic when/if they start to lose their hair after they have had their babies.

I wrote a post earlier about Hair during Pregnancies, and if you want a re-cap follow this link: https://jujuchan.com/2009/06/pregnancy-hair.html

Anyway, this one is to show how your hair will (90% of the time) grow back to normal thickness and healthiness. Here is Mina again 10months later when all hormones have settled down, with her hair looking thick and healthy again.

Before: (recap)
DSC05857

And here is Mina after: (looking all cute)
We cut Minas hair into an asymmetric bob shape, giving her lots of layers for body and fun, we didn’t use any razoring techniques as we wanted to make sure the hair didn’t end up looking too thin, so we used scissors to texturize the ends.

Thanks Mina.

Smooth Look Finishing Cream..

Davines Glossy Modeling Putty for Wizards,#4

IMG_0162

What I call the ‘other one’ to the Davines Matt Pliable Stucco. This finishing cream gives you shine and movement without the stickiness of the Stucco. Ideal for longer hair with layers and movement that you want to bring out. Put a small amount onto the palm of your hand and roll the product into the hair, comb through with the fingers to separate if necessary.

Face Shapes….

I want to talk alittle about face shapes and suitability, giving a rough guide to advise both clients and stylists when discussing hair styles for individuals. Of course, there are exceptions to the rules, people who like to go for character and fashion rather than being safe and being suitable all the time, but I hope it gives you a clearer general idea…
The perfect face/head shape is the
Oval (egg) shape. It would be ideal for hairstylists if everyone’s head shape was a standard oval shape, unfortunately life is not so simple. Head shapes vary from square to triangular to rectangular. Here’s some examples I’ve drawn to show you:

face shapes 2

There are many other face shapes which are a mixture of the ones above. A stylists job is to create hairstyles which are as close to the perfect oval shape as possible., but you also should take into consideration other facial features egg. nose, ears etc, which we will go into in another post.

Guides to suiting face shapes:
Round face – People with round faces should consider a style which adds more height and less width. If the face is very round then length and softness can be added to frame and soften the edges, but still keeping the shape as close to the sides as possible – see below..

round face


Square face – This does not necessarily mean that the face shape is actually square but gives the appearance of a wide jaw line etc. With a square shape he style ideally should be made to frame the face and depending on the length of the face, height can be varied as long as there is not too much weight build up about the temple area. All lines should be rounded and not angular, see below…

Square face


Long/Rectangular face – With the rectangular shape, as you can see from the 2 face shapes combined, alot of width is needed to fill out the sides. Ideally hair shouldn’t be swept onto the face, as this will only crowd and make the face narrower. No height is needed here as this will lengthen the face even more, also try to keep some hair onto the forehead to help shorten the face, see below….

Long face


Triangular/Heart Shaped – The heart shape is one of the easiest shapes to disguise as it is very similar to the oval shape, only height is needed. Width at the temple areas should be avoided as this will create a wider top half. This head shape is sometimes quite difficult to assess. If the protrusion at the top of the head is minor, then it can be classed as an oval shape, see below…

Triangle face


Pear shaped face – also known as the upside down triangle. This is not a very easy head shape to work with, particularly if the shape is very prominent. In this case, the style chosen should be built out at the temples and preferably with hair working onto the jaw line to soften out the wider proportion, see below…

Upside down triangle face

The styles shown here are merely a guide to what can be done to counteract different face shapes, but obviously with the stylists experience and imagination, many other styles can be varied to suit the individual. Come visit again as I will go into more suitability details.