Ballerina’s and Donut’s!

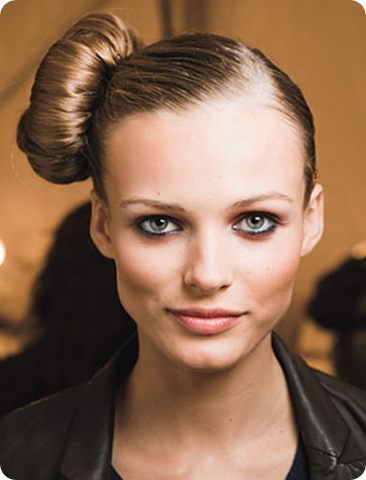
Notice how everyone around us are wearing their hair in Ballerina buns? And I don’t really mean those top knots that I said I didn’t like afew weeks ago. Slight difference in my eyes.. these are more elegant looking whereas the others looked like ‘home hair’ Anyway, I was told I needed to write a post about how best to achieve these perfect shaped buns.. Thanks Sarah Geiger for keeping  me on top of it all!

There are so many different ways to achieve these looks, including twisting, tucking and rolling and so many different positions on the head to put them too. But the one’s I wanted to talk about today is the very perfectly rounded shapes worn on top or near the top of the head.


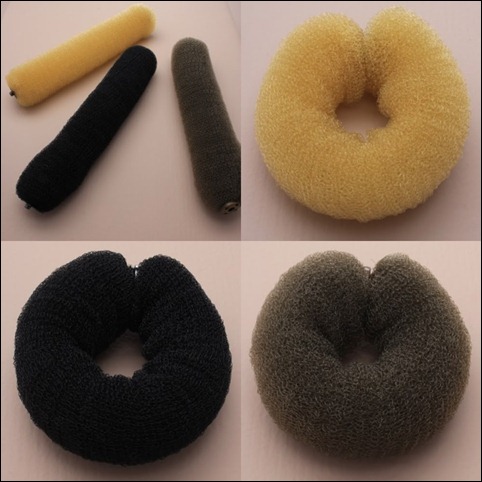
hair-donuts


These can be achieved very easily by using hair donuts (or sausages, as shown above). First, tie hair up into a ponytail on top of the head, (or slightly to the side if you want) Once the pony is secure, choose the donut best suited for color matching your own hair, slip the pony through the center of the donut, split it in the middle and spread the hair around the donut to make sure all of the donut is covered. The ends of the hair is then wrapped around the donut and tucked underneath and pinned into place.

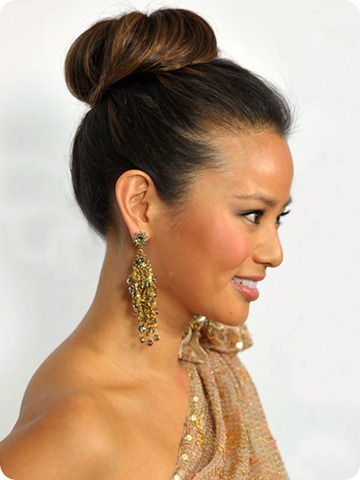
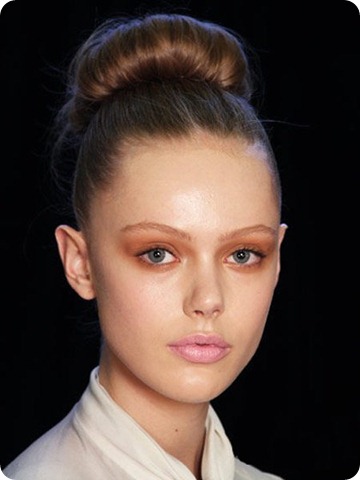
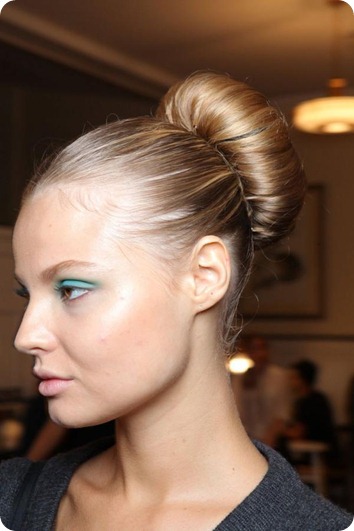
Here are some examples of how the the finished look could result in, good luck!


updo-hairstyles-2012-61


20111022083239934


Hairs_359


tumblr_lns5nywKXa1qzj2lho1_r2_500


Renegade Fair Hair

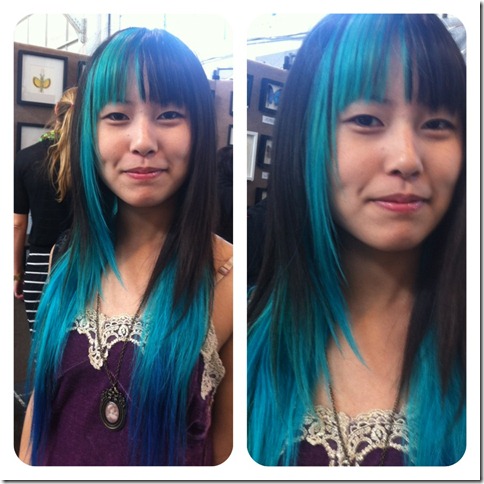
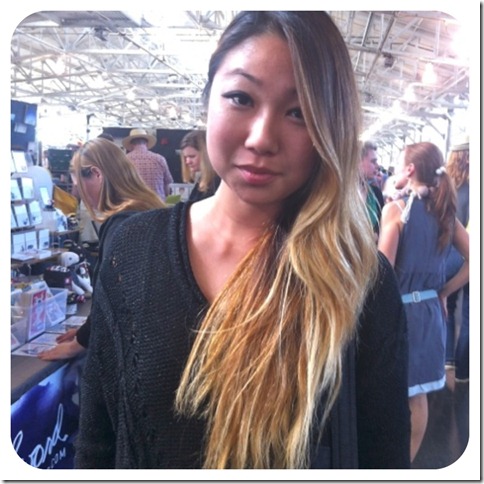
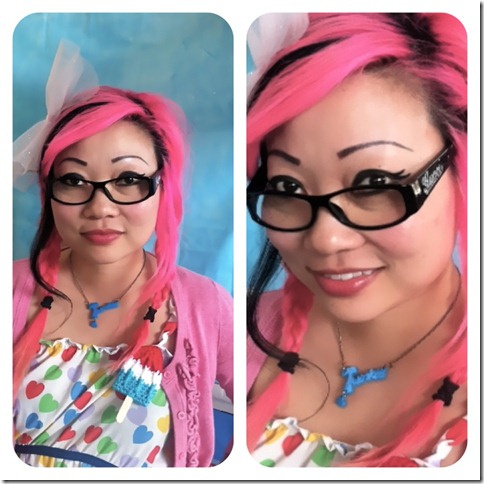
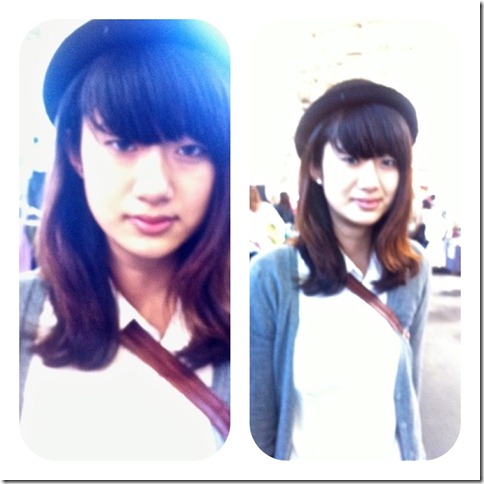
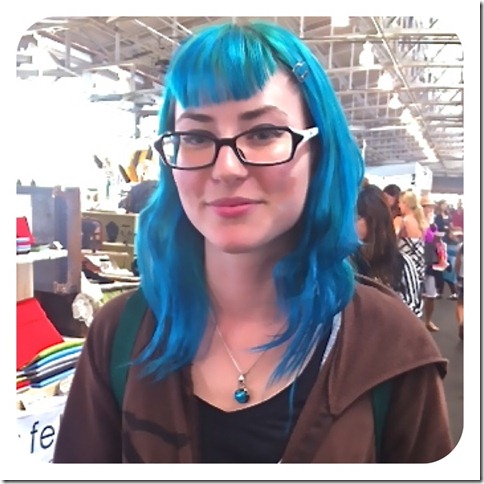
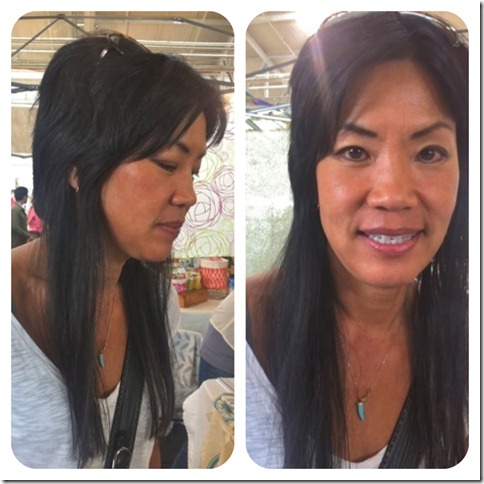
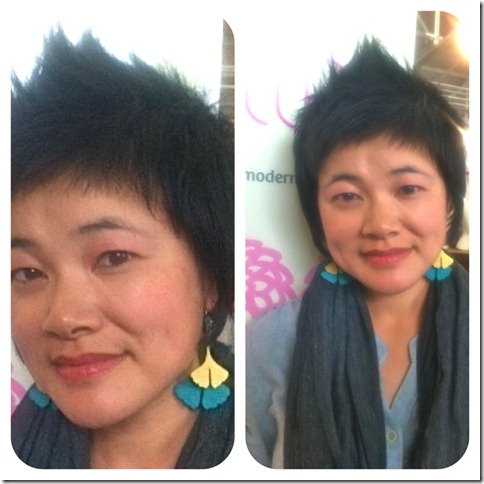
Its been a long time since I’ve been out on the streets looking for my ‘Cool Mops’ for my blog, and I didn’t actually intend to go approaching people again, but once I walked around the Renegade Arts and Crafts Fair yesterday, (an Annual Event held at the Fort Mason in San Francisco) I noticed a few good looking Hair (and stylish) girls around. So out came my i-phone and before I finished up for the day I went snapping away.

Here are some of the looks I  saw and because I’m so out of practice I only got a few of their names so hopefully they might see this and I can add it later, Thanks girls for posing for me and  letting me put you on my blog.


IMG_3601


frametastic


frametastic copy 4

Of course we have our very own Twinkie Chan who was sat relaxing at her fabulous homemade stall full of crochet goodies when I attacked her, you really should check out her goods which are totally fabulous!!


frametastic copy 3


frametastic copy


frametastic copy 2


frametastic copy 5

And last but not least we have Leslie, owner and designer of Feistyelle – who makes jewelry and home décor products that are eco chic and the lightest around, using  merino wool felt and lightweight bamboo. Check out her designs by following the link.

Thanks a lot girls ; ) Your all gorgeous and fab individuals.


MyHairdressers.com ~ Digital Perms

Very recently I wrote my 3rd article for UK based Educational Website MyHairdressers.com


For this one I interviewed Same from Zippy’s Hair Studio in San Francisco about her techniques and tips on doing Digital Perms (Hot Perm) Huge Thanks to my business partner Jodi Ninomiya for letting me document her while she tried out the perm ; )


Follow this link to read what Same had to say.. Digital Perm Article


Continue reading “MyHairdressers.com ~ Digital Perms”

Dekko’s Daily Grind ~ Jenny

Every now and again, I start to do my haircut at work and then when there’s tons of hair that start to fly and around a third of the way through I then realize that I should’ve taken some before pictures of my client : (

So I end up taking the ‘after’ pics anyway and hope that the client will have some good ‘before’ pics for me to slot in.. anyway, this was the case of Jenny Ping who came into Dekko to see me.

Jenny was so sweet and was open to having some changes to her hair but still wanted to continue growing the length down. The hair was already asymmetrical but it was almost one length throughout. The only problem I foresaw was the step in the middle of the long side! This was my challenge to try to blend it altogether to make it work with the rest of the hair.

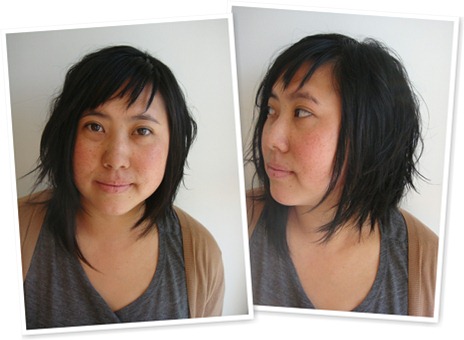
Here’s 2 pictures that Jenny sent to me after showing her hair before the ‘chop’!


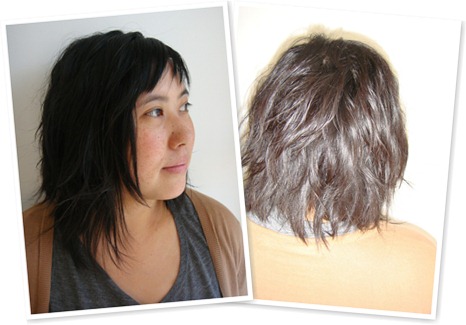
Anyway, we decided to layer it all up, lighten up the inside of the hair while keeping the whole outside length long. I also wanted to chop up the fringe area so it didn’t hang to heavy on her face. Once we had layered it all we used some styling cream to get the effect of chunkiness to the hair.


Sorry about the bright ‘back’ picture.. but at least it shows off the layers anyway.

What was surprising about the hair was once all the weight was taken off, there was so much natural texture in the hair, it all came to life and so Jenny could play around and have a much more textured fun look, and I was able to blend in the hole at the side : )

Thanks for posing and sending me the before pics Jenny, I enjoyed doing your hair..

My Pick…

My Pick 10
Again, I have to apologize for not knowing who did the work for this hairstyle, but I chose it for its very creative cut and color work. similar to another one I posted the precision work with the color is fantastic (although I hope the work was not touched up in Photoshop afterwards cos you just never know nowadays)
Anyhoo, fabulous strong defined shape, well done to whoever did this!

Growing out your Layers or Hair..

We’ve all been there right? Well I hope so, I hope most women have tried short hair at some point in their lives! Anyway, you’ve had the cutest short haircut and now you’ve had it short for so long, your bored.. Now what? What is the best way to grow out your hair?

I wanted to write this post to help those people who never seem to be able to grow it past a certain length before they cant stand it and off it comes again.

Using pictures to help me describe the different points of growth. To put it as simply as I can, there are 2 main ways of growing your hair out from a short pixie. But with both methods one of the most important secrets to easier hair growth is to keep it thinned out and textured, this will stop it from looking like a bowl while growing and you will be dealing with less hair as well as it looking better along the way.

1. You can either choose to carry on growing out the length as well as the layers until its all longer, the disadvantage of this method is that it will always be quite messy looking and highly likely (if you have a low hairline) that you will at some point have a kind of mullety look. This method will end up looking abit like a shag, so is great for trendier people.


2. You can grow all the layers out longer first while keeping sides and back shorter and neater, then when it reaches a certain length then the whole of hair will need to grow. At some point you will end up with a kid of bob shape. This one is the ‘neater’ way of growing out hair but for people who hate bobs, this method may not be for you.


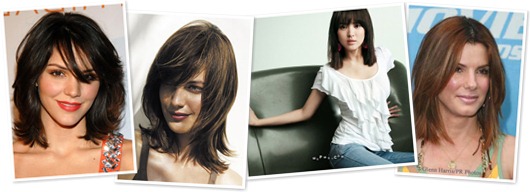
Then as the hair continues to grow you will hit the worst point where the hair will hit the shoulders and flip! This is unavoidable so depending on how much you hate hair flipping, this can be controlled by how much or how short your layers are at this point. You could grow it down with heavier layers to keep the flipping from happening so much and then add more layers as you get past this stage or you can have quite afew layers and have it looking very  rock chickish.

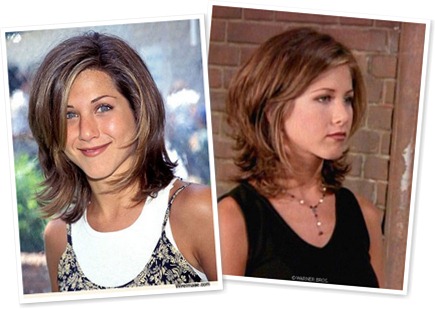
BUT.. you should be aware that depending on your hair type and thickness, having too many layers at this length could very well result in a ‘Rachel’ from friends which in my eyes is a no no!!


Once you get about 2inches past the shoulder then you are scott free and well on your way to having long hair!!! Anyway, hope this helps you get past the worst stages : )

Remember texture texture thin out and chop it up, that’s the secret! Oh and of course a good hairstylist helps : /

Stenciling

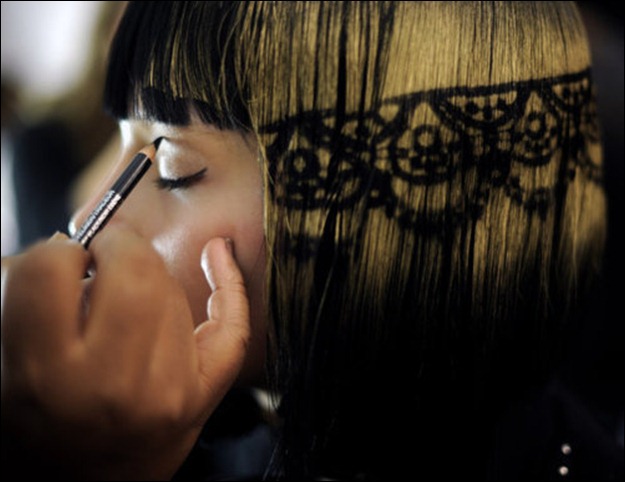
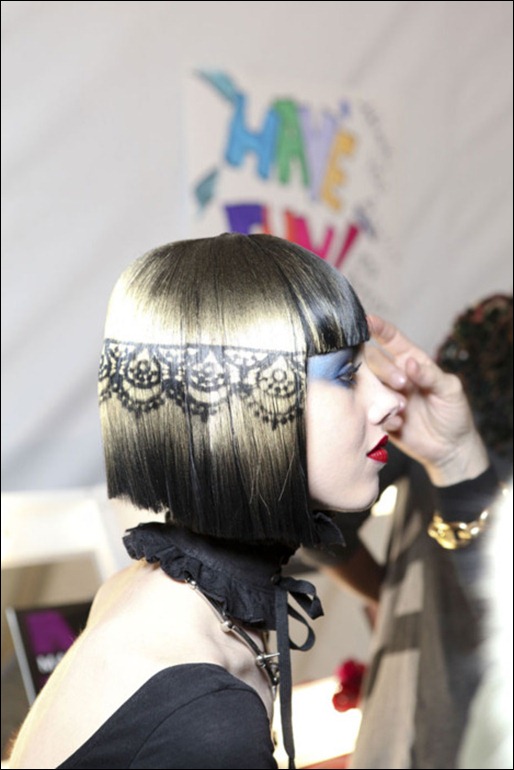
Spotted on the catwalk for Betsey Johnson, this gorgeous stenciled lace look created by Redken’s leading stylist Peter Gray.


thefashiontramp.tumblr


vandavintage.tumblr


Peter created this gorgeous look by using black wigs, cut into bobs. They were influenced by Uma Thurman in Pulp Fiction as well as the Sassoon bobs and Cleopatra fringes, the lace effect was added because Peter thought a simple bob shape was simply not ‘Betsey’ enough and for those of you who know Betsey we know he was right. This stunning lace look made it all the more special. Gray used lace as the stencil and while it was wrapped around the head, he used color spray to create the look.


The hair/wigs had to be blow dried and flat ironed very straight first as the stenciling effect doesn’t show well on textured hair.


Thanks to these sources for the pictures…….Source, Source, and Source

My Pick..

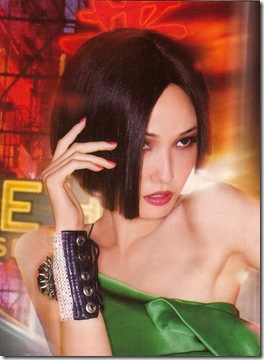
I picked this hairstyle from an ad for nails, mainly because of it being a very classic one length basic bob. This picture shows that no matter how simple the haircut/style is, the total look can still be of one that is hip, classic and non-mumsy as long as the rest of your look/outfit looks cool!
So all you women out there who are afraid to end up looking mumsy with a basic bob,  you should have a think about your total look and not just the hair : )

My Pick 11

My Picks..

View My Picks

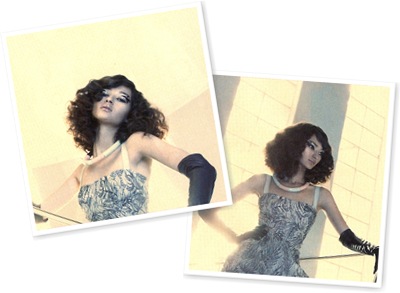
My Pick because I like the way the hair has been set, I can only guess that the style has been set using rollers or irons. Starting the curls further down from the head to give it a flatter look at the crown working into the definite curls at the middle length and ends. Love the bushiness of it, sorry I cant remember which ad campaign this was from but well done to the stylist.